Paint Pour workshop
On 15 July 2020 Emma Morrissey will be running a Paint Pour workshop for us. It will be messy so I thought I would have a go and pass on any useful tips that I can.
A ‘sensible’ basic kit is as follows:
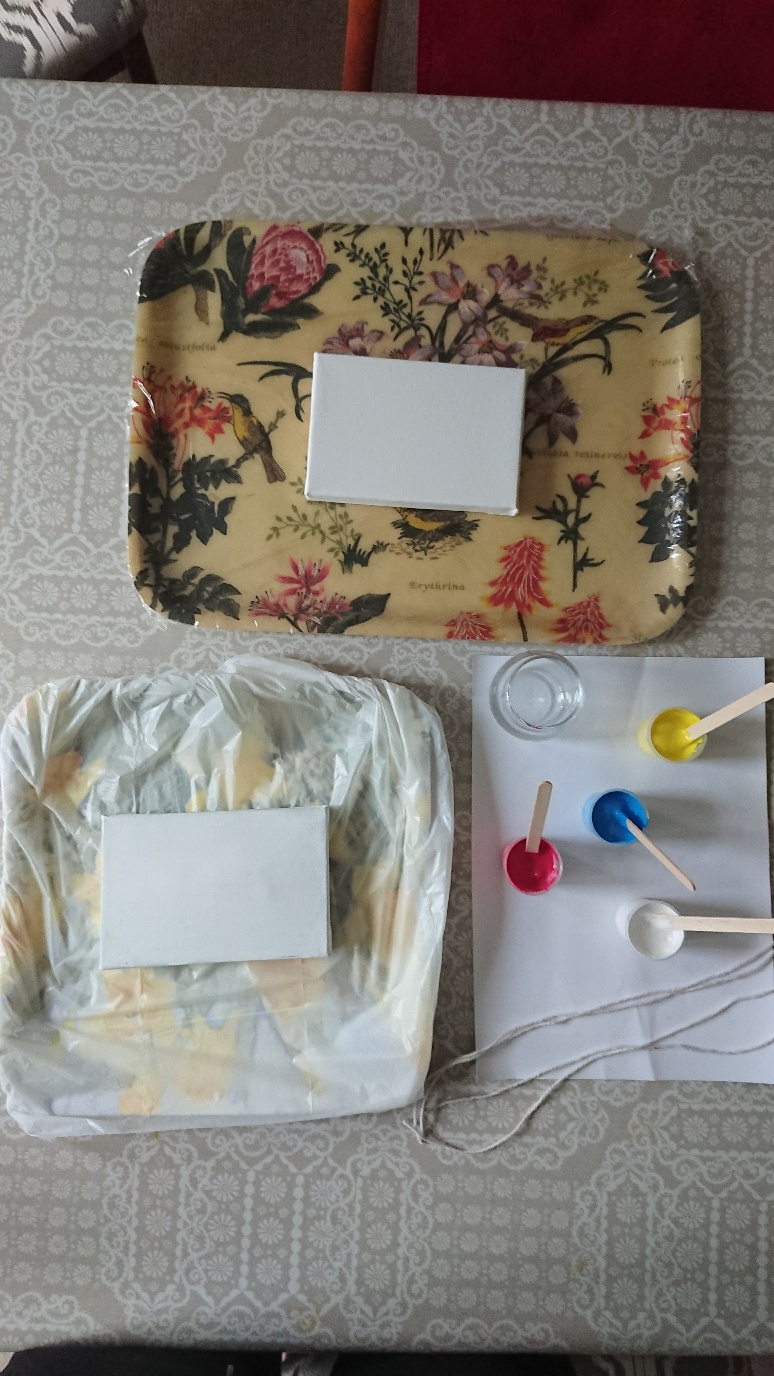
So, first let’s get all the items we need (the glue is missing from the photo and I show more colours than I actually used):

You will see later how incredibly different the pictures can be when using exactly the same colours! The paint colours I used were:
Now it’s time to mix the paint. As a rough guide, if you measure your canvas in centimeters and do this sum, you will get a good guide to how many millilitres of paint you need to cover the canvas:
(length x width x 1.5) / 10
At this stage put each colour you want to use into separate containers and mix with the glue.
The proportions of paint to glue is trial and error but I used approximately 5ml paint to 30ml glue to get a good, runny consistency.
Here my paints are mixed and ready to be used. Note the addition of a larger glass container, some strips of string and a second canvas.
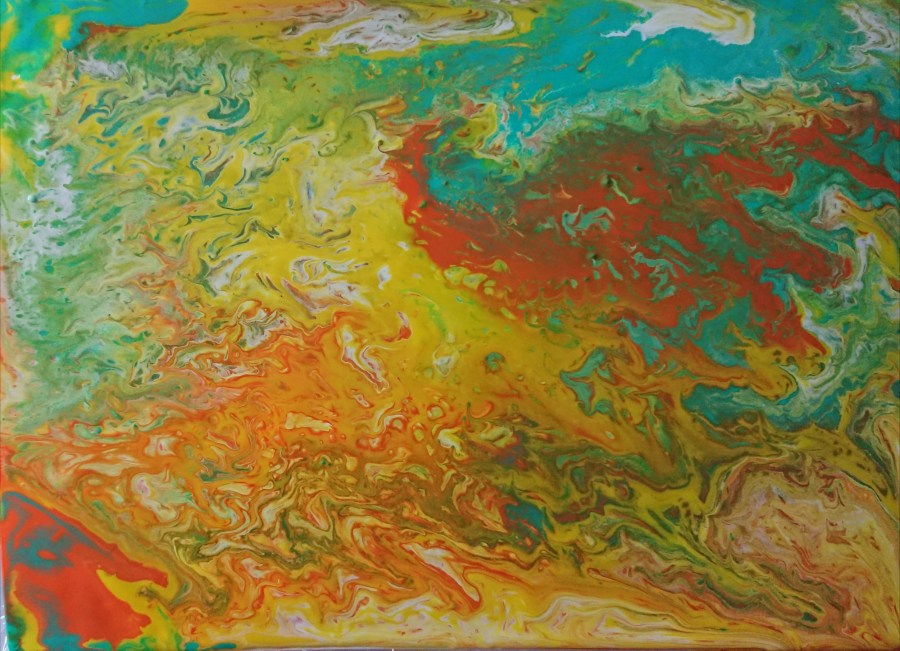
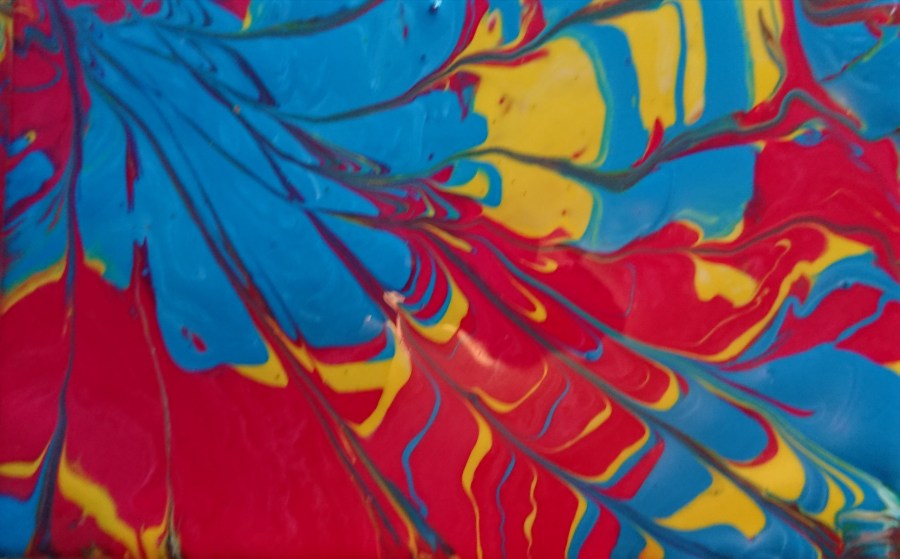
My First Picture – Very Colourful!
First I poured my white paint onto the canvas and moved the canvas from side to side until the whole surface was covered. I then immediately poured each of the other colours in turn onto the canvas in random places and with random designs. I then tilted the canvas from side to side until the whole surface was covered and then dragged a piece of string across it in places. It now has to be left to dry. Here’s the result:
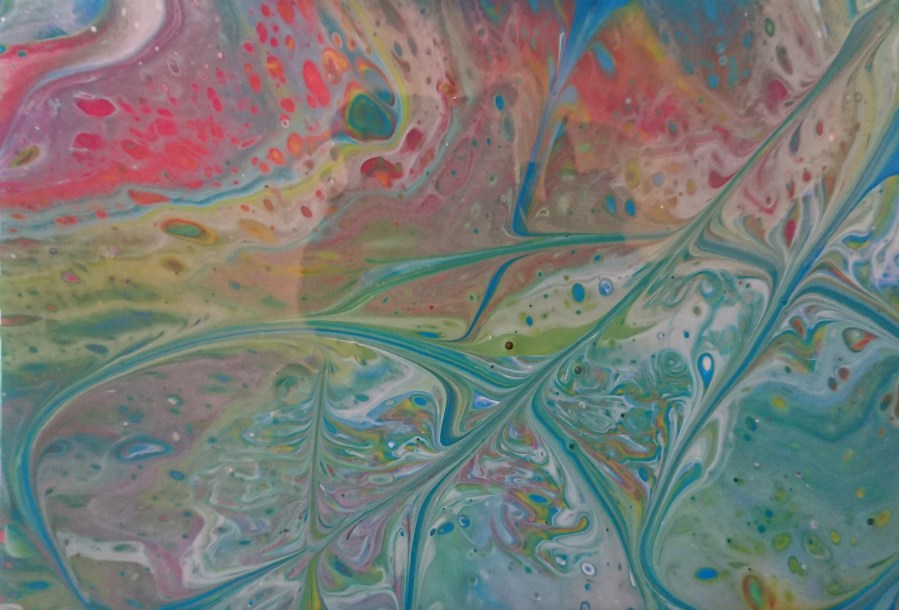
My Second Picture – Much More Subdued Colouring
For this picture I mixed up the same colours again and poured them into my larger glass container in this order: white, magenta, yellow, blue. I then placed the canvas on top of the glass container and flipped it over. I decided to move the glass around the canvas a bit to see what happened and then moved it to the centre of the canvas and lifted the glass away. Once the whole canvas was covered with paint I dipped a piece of string in some of the cerulean blue paint and dragged it across the canvas in a few places. This is the result:
My Third Picture – Using Mountboard
What I learned from this was that mountboard is too flexible and the end result was a rather curved surface. I did raise the card off the work surface so the paint ran off much better. I made the paint more runny by adding a little water and the end result was much more successful. Air bubbles are a bit of a problem but that was because I was working quickly and did not let the bubbles work their way out of the paint. I believe a blowtorch is a good tool to use to disperse bubbles but fortunately for the fire brigade I have not got one!